 Local Panel by Nesdzo
Delay Node
The Delay Node is a simple, basic node that causes your code to wait for the number of seconds you specify at the point where you add it. Let’s take a look at it together and see some examples.
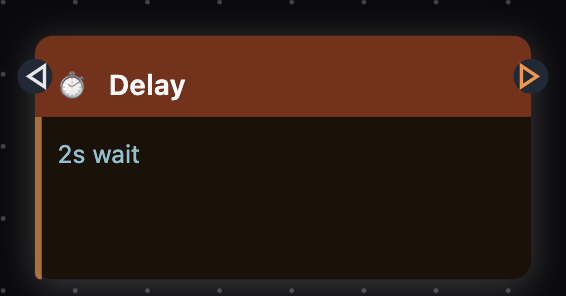
As mentioned in the introductory sentence – which has no input and, similarly, no output – the delay node is a simple and basic node
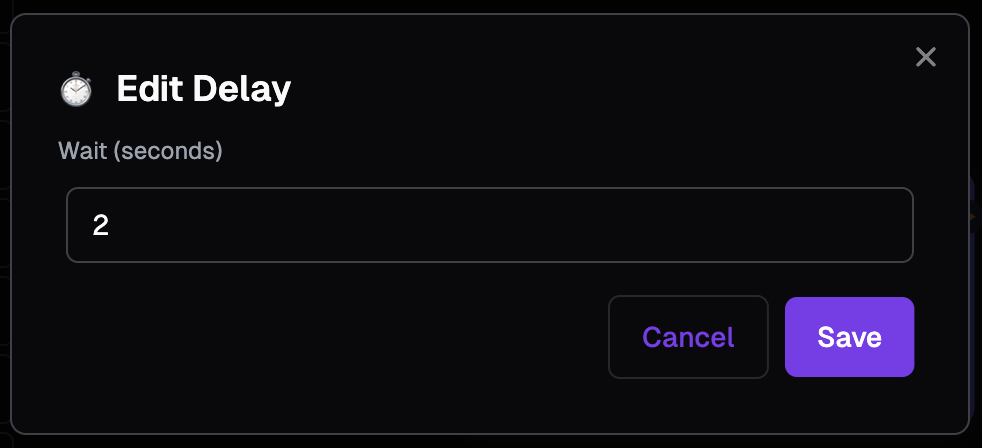
It only accepts a duration in seconds, and the default value is 2.
Basic Example
Let’s write a piece of code that displays the current time on the screen, waits for 3 seconds, and then displays the current time on the screen again.
Total Time: 1 minute
Set up the command node
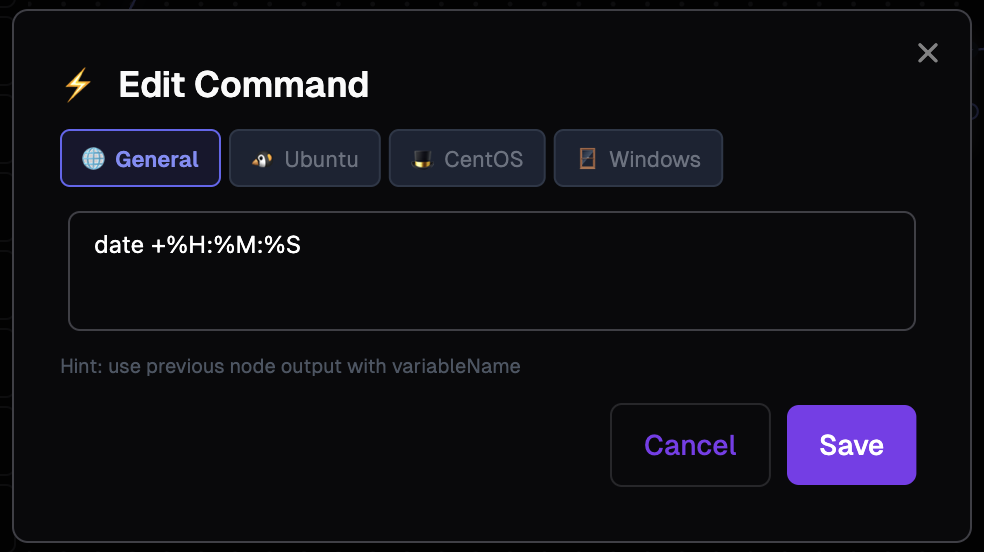
Let’s type the command date +%H:%M:%S into the Command Node, save it, and duplicate this node using the Ctrl+D or Cmd+D shortcut.
Set up the delay node
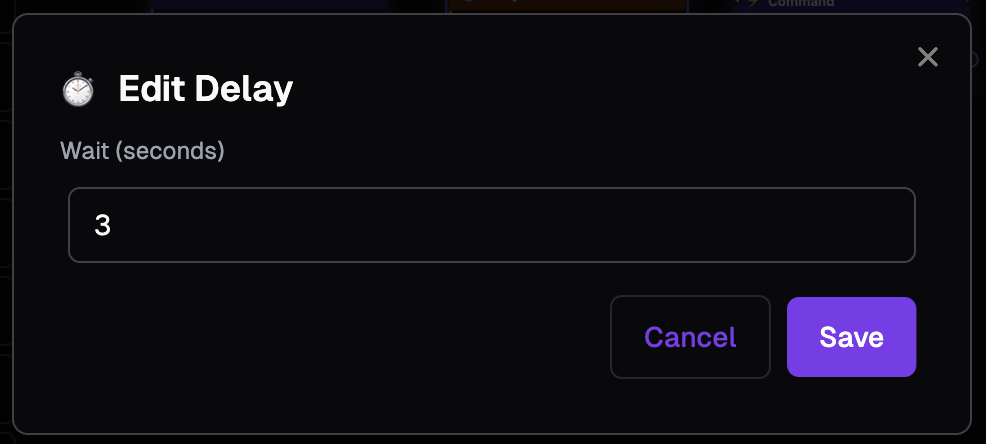
Let’s update the delay in the Delay Node to 3 seconds.
Connect the nodes to each other

We can connect the nodes we have, as shown in the image, to get them ready for use.
Result
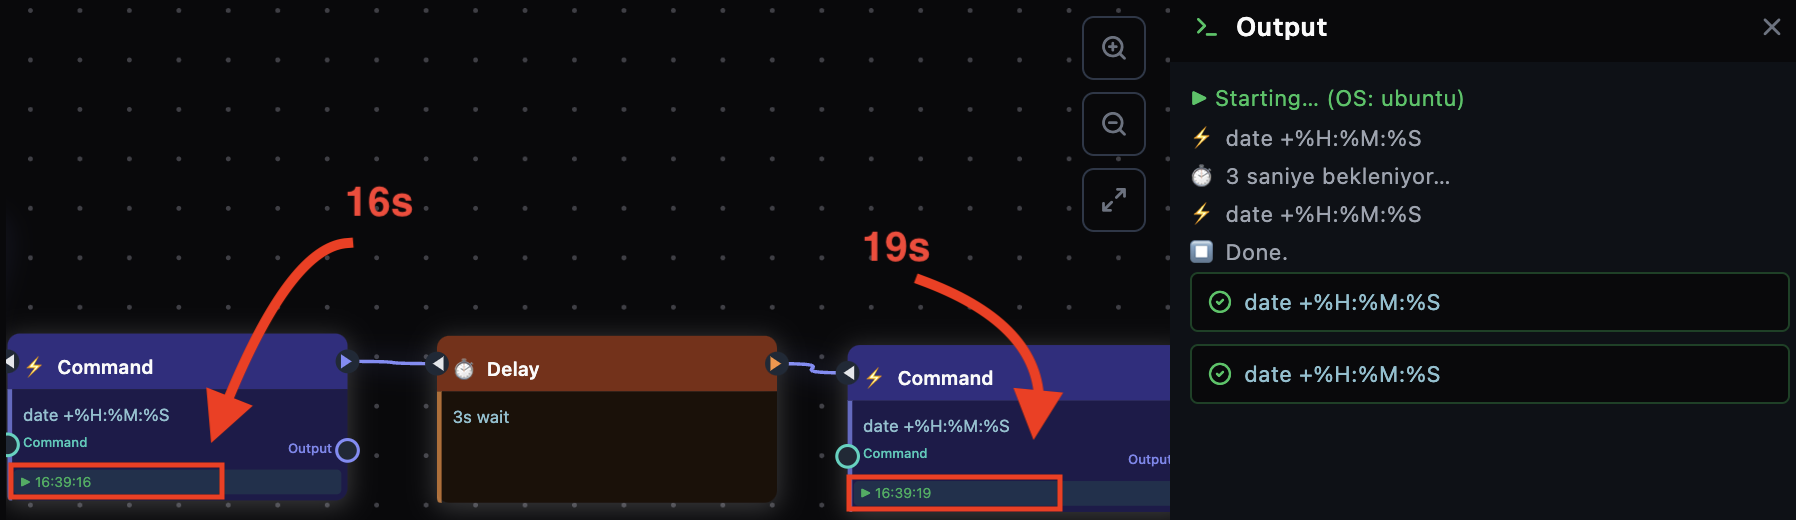
We can run our code by clicking the ‘Run’ button in the top right-hand corner. In the screenshot, we can observe the example code in action: when the timer reaches 16 seconds, the first command runs; it then waits for 3 seconds, and when the timer reaches 19 seconds, the second command runs again. In other words, if you’ve followed the steps correctly, you should see the output of the second command exactly 3 seconds after the first command has run.
Still stuck? Email contact@nesdzo.co.uk — we're happy to help.